
Video captions for education is easier then ever. The use of video has become a…
How to Add Captioning for Canvas and Webex
Canvas and Webex are both video content management systems that allow educators and students to connect, collaborate, and communicate virtually from anywhere. Since the pandemic hit in March 2020, educators across the world have utilized these learning management systems to continually provide high-quality, engaging educational experiences.
Educators and institutions had to quickly adapt from standard in-person education to a fully remote learning environment in a matter of weeks. However, during the transition, students with disabilities were swiftly left behind as many faculty members failed to understand the technological side of our new education system. Accommodations are integral to students’ success, including captioning and transcripts for class material.
The following step-by-step guide aims to aid educators in adding captions to all of their audio and video content to allow students of all types access to equal education.
For Canvas:
Add captions to canvas videos through the Rich Content Editor. Upload media in two ways:
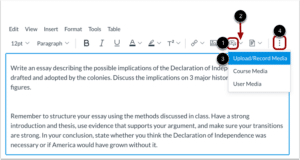
Upload media from the toolbar
- Start by clicking the Media icon [1]
- The dropdown menu [2] will also allow you to Upload/Record Media [3]
- To view the media icon, you might also have to click the Options icon [4]
Or, upload media from the menubar in the Rich Content Editor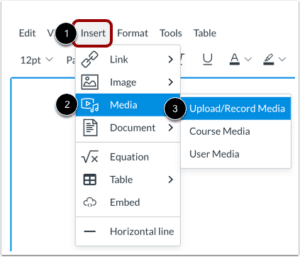
- Click Insert menu [1]
- Select the Media option [2]
- And then, select the Upload/Record Media option [3]
Next,
- Upload a media file by selecting the Computer tab
- Click Add CC/Subtitles checkbox
- Then, select language from the dropdown menu
- Attach your caption file, by clicking Choose caption file button. This can be an SRT or VTT file
- Select the file you want to upload and click Open
- To attach additional files, click the Add (plus sign) button
- Finally, click the Submit button to finish
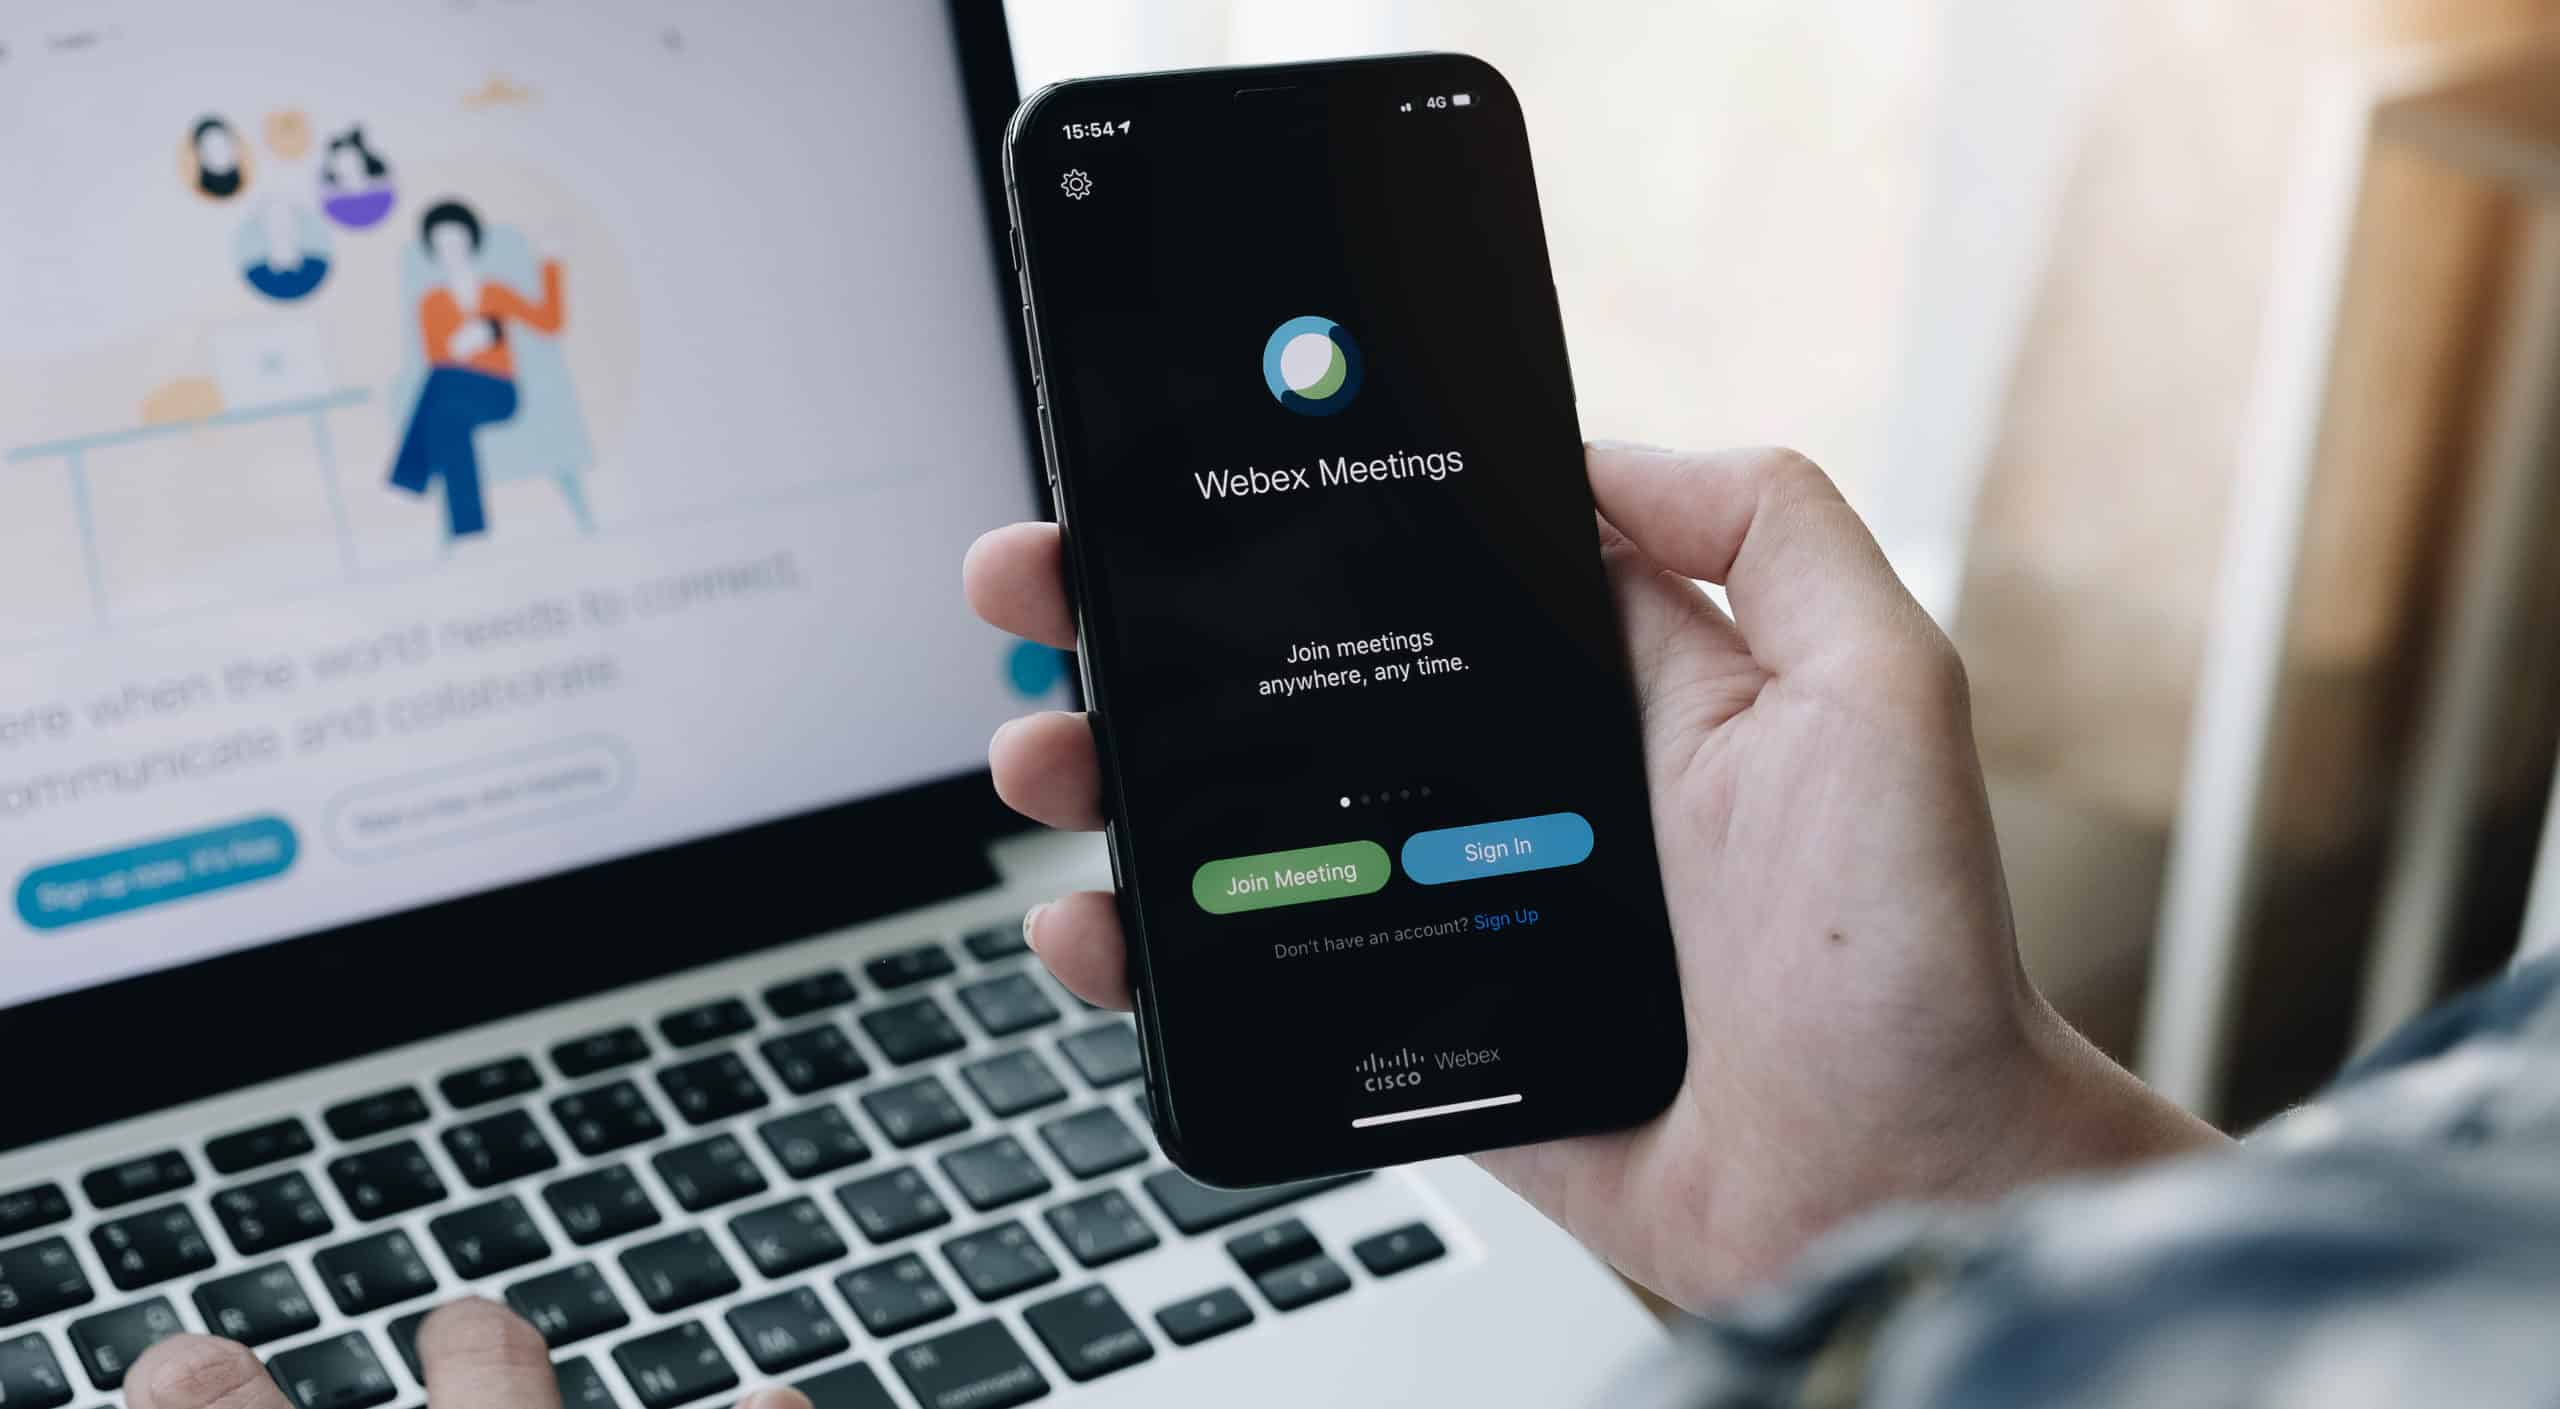
For Webex:
The following steps enable closed captioning within Webex meetings:
- Schedule and start a Webex meeting
- In the meeting window, in the top right of the screen, select the dropdown menu More Options and Controls button, then select Manage Panels
- Within the Manage Panels window, on the left-hand side, select Closed Captions*
- Then, click ADD and OK
*If the Closed Captions option is not available, the following steps can also set up closed captioning:
- In the Meeting window, go to the Meeting menu and select Options
- Check the Enable Closed Captioning box, then click the OK button
To designate a participate as a closed captionist:
- In the Participants panel, right-click on the person you want to designate
- Select Change Role To > Closed Captionist
cielo24 Captioning Solutions for Educators
 cielo24 proudly works with educational institutions across the US and globally to create accessible remote learning programs. Our captions and audio transcripts also help educators increase student engagement, improve GPAs, and make educating easier for all.
Begin captioning course video or audio immediately at less than $1/minute. Contact us for a Free Enterprise trial based on your unique business needs. Or contact us online or call us at 1-855-243-5624.